It is often useful to view the distributions of multiple outputs on a single chart or table. Displaying multiple distributions in this way allows you to more directly compare and contrast the results.
To display multiple results in a Distribution Result, you must first open the Result properties dialog for the distribution.
You can do this by pressing the Edit Properties... button in any of the Distribution Result display windows:

The following dialog will be displayed:
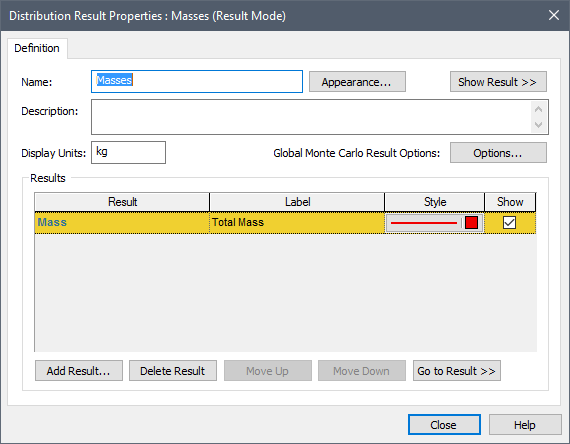
To add additional outputs to the result, press the Add Result... button. A dialog for selecting an output will be displayed. After you select the output you wish to add to the result display, and press OK, the selected outputs are then shown in the Result Properties dialog:
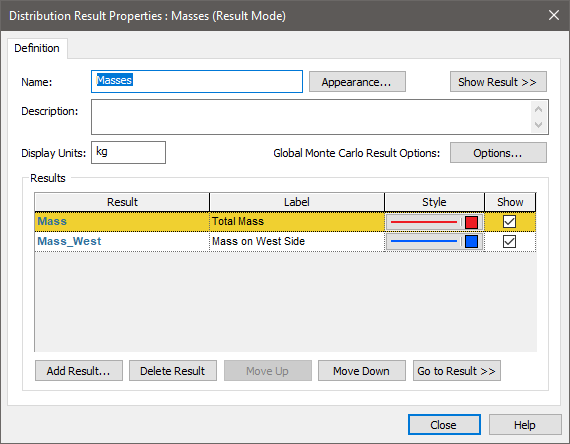
The following points should be noted regarding the Distribution Result Properties dialog when displaying multiple results:
- The units of the results default to the Display Units The units (e.g., m, g, $/day) in which an output is displayed within GoldSim. of the first result added to the list. However, you can change the Display Units that are displayed from within the Result Properties dialog.
- You can add as many results as desired to list. Note, however, that all results must have the same dimensions An output attribute for an element that defines the dimensionality (in terms of Length, Time and other fundamental dimensions) of the output.. GoldSim will not allow you to add an output which does not match the dimensions of the existing result(s).
- Only those results in which the Show box is checked will be included in displays. Hence, after adding a result to the list, you can temporarily hide it from displays by clearing this box.
- The Label is user-editable, and is used in legends and column headers.
- The Style of each line displayed in a Distribution Chart can be edited by clicking on the field (in the Style column) corresponding to each result.
Pressing the Show Result button displays the multiple output display.
The Distribution Summary looks like this:
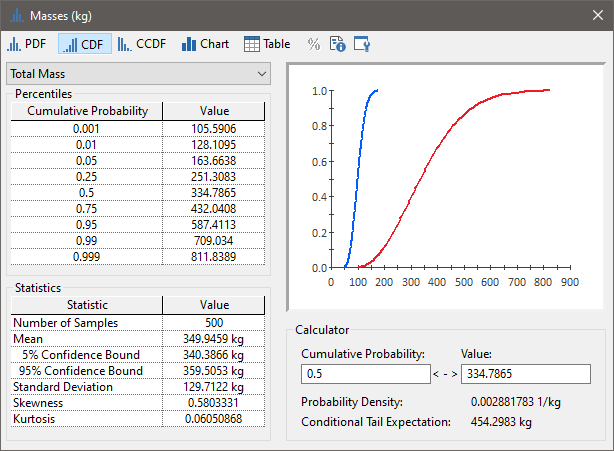
Note that although the Preview Pane will show all results, the Distribution Summary can only show Percentiles and Statistics for one result at a time. You can choose which of the results to display from the drop list at the upper left-hand corner of the window.
A Distribution Chart looks like this:
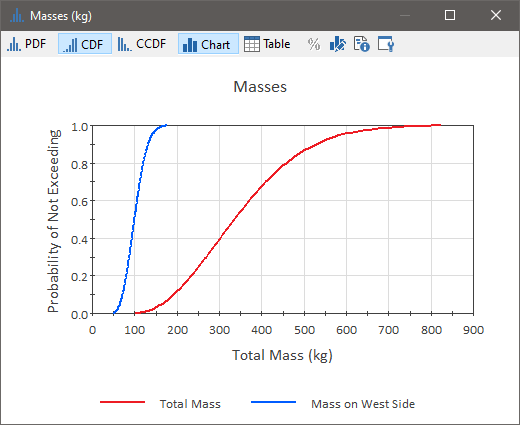
Note that a legend is available for Distribution Charts (you may have to turn it on by right-clicking in the chart and selecting to show the legend from the context menu). The Labels specified in the Result Properties dialog are used in the legend to label the different results.
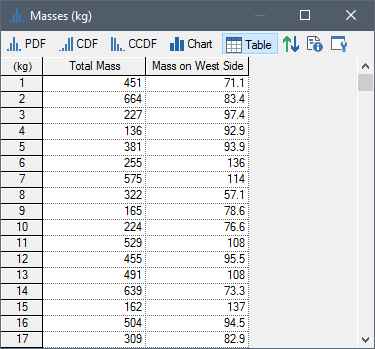
For Distribution Tables, the results are listed in separate columns:
Note: You cannot show Confidence Bounds in the Distribution Chart, Table or the Summary when displaying multiple outputs (the Confidence Bounds button is grayed out).
Learn more
- Adding a Distribution Output to a Distribution Result
- Controlling the Chart Style in Distribution Results
- Plotting Condition Distributions
- Plotting Discrete Distributions
- Using Result Classification and Screening in Distribution Results
- Viewing a Distribution Chart
- Viewing a Distribution Summary
- Viewing a Distribution Table
- Viewing Distribution Results for Single Realization Runs
- Viewing Distributions of Multiple Outputs
- Viewing Scenario Results in Distribution Result Elements
- Viewing the Distribution Result Array
- Viewing the Properties of a Distribution Result