When you create a Dashboard A special GoldSim element that allows you to build custom interfaces or "control panels" for your models., you will typically spend some time aligning and positioning the various controls to make the Dashboard attractive and easy to navigate. GoldSim provides several tools to facilitate this.
First, GoldSim provides two toolbars (and corresponding menu options for aligning and spacing selected object).
If you have selected multiple objects in the Dashboard, you can chooseGraphics|Align from the main menu, or use the Graphical Tools toolbar to access a sub-menu for aligning the objects (note that aligned to the last object selected).
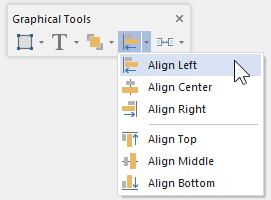
The options in this menu are self-explanatory.
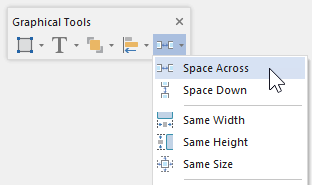
If multiple objects are selected, you can also choose to space them evenly (horizontally or vertically), or set their widths, heights or sizes to be identical. These options are provided under Graphics|Layout in the main menu:
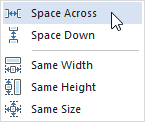
They are also available via the Graphical Tools toolbar:
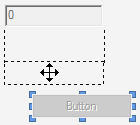
In addition to these tools, within a Dashboard, GoldSim also provides an automatic alignment tool as you move controls across the Dashboard. In the example below, you see that as the button is dragged, lines are automatically drawn in some positions (and GoldSim will snap the control to that position) to help you align it with other controls:
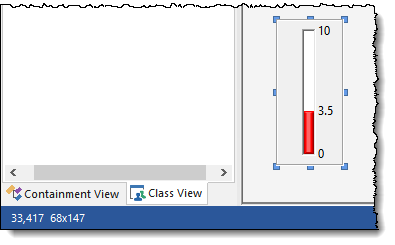
To further assist you in aligning and positioning controls, when you select a control (in Design view), the X,Y coordinate of the top-left corner of the control, as well as the width and height of the control, are displayed in the left side of the Status bar A bar at the bottom of the GoldSim interface that provides information regarding the status of the model.:
- Adding Controls to Dashboards
- Aligning and Positioning Dashboard Controls
- Controlling the Tab Order in a Dashboard
- Copying and Moving Dashboards and Controls
- Dynamically Disabling and Hiding Dashboard Controls
- Input Controls
- Output Controls
- Overview of Dashboard Controls
- Using the Button Control
- Using the Scenario Control
- Using the Simulation Time Control