Once GoldSim is activated, you should ensure that the program was properly installed. To test the GoldSim installation, do the following:
- Double-click on the GoldSim program icon (on the desktop or, using Windows Explorer, in the folder into which you installed GoldSim) to start the program.
- Press Esc to close the Start dialog that is presented.
- From the main menu, select File | Open Example...
- Enter the folder named "General Examples".
- Select a file named "FirstModel.gsm" and press Open.
- Press F5.
- A dialog stating that the simulation has completed will be displayed. Press OK to close the dialog.
- You will see an object labeled "Volume" on the screen.
- Right-click the object. A menu will be displayed. At the top of the menu, you will see a Time History Result… option.
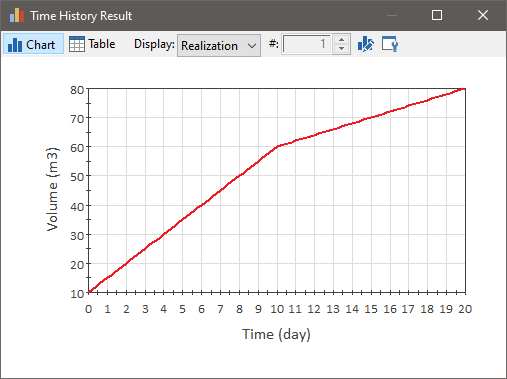
- Click on this option. The following chart will be displayed:

- If you are able to complete these steps and you chart looks like this, GoldSim has been properly installed. (Close the chart, and you can close GoldSim.)