You create clones of an element by right-clicking on the element you wish to clone in the graphics pane or a browser to access its context menu, and selecting Clone Element.
When you do so, you will then be presented with a dialog containing all of the Containers in your model. Using this dialog, you must then select the Container into which you wish to place the clone.
If you select a Container in the same scope as the element you are cloning (or an existing clone of the element), GoldSim will ensure that the names of none of the clones conflict by adding a number to the end of the new clone. If you select a Container in a different scope, the cloned element will have the same name as the element being cloned.
All clones are "equal". That is, the original element is no different than the clone which was created from it. Both are clones, and if you change an input to one, the same input in the other is automatically changed accordingly.
You can always recognize a clone in the graphics pane, because a small symbol (two overlapping boxes) will be present in the upper right-hand corner of the image:

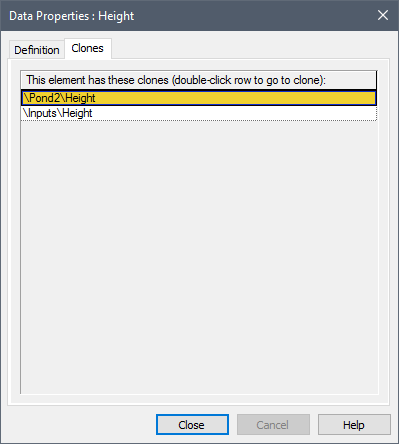
In addition, within the the properties dialog of a cloned element, you will notice an additional tab, labeled Clones.

The Clones tab lists all of the clones of the element. There is no limit on the number of clones of an element that can be created.
Double-clicking on a row in this dialog jumps directly to that clone.
Learn more about: