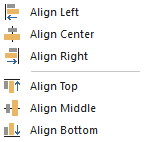
If you have selected multiple objects and/or elements in the graphics pane The primary portion of the GoldSim interface, where the graphical depiction of the model is shown., you can chooseGraphics|Align from the main menu to access a submenu.

The options in this menu (which are self-explanatory) can be used to align the selected objects.
When you add an object to the graphics pane, it is assigned a particular order. The order determines how objects are "stacked" (i.e., whether an object is in front or behind another object) when they overlap. Higher order objects are always placed in front of lower order objects:
With regard to order, GoldSim groups objects into three classes: 1) elements; 2) influences; and 3) everything else (graphical objects like images and text). Elements always have a higher order than influences and influences always have a higher order than graphical objects. Hence, influences will always appear behind elements, and images and text will always appear behind influences.
Within a given class of objects (i.e., elements, influences or graphical objects), the latest object added to the graphics pane always has the highest order. Hence, if you add three circles, the first one added will have the lowest order and the last one added will have the highest order.
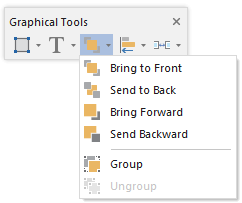
Once an object is placed in the graphics pane, you can manually change its order (within its class of objects) by selecting the object and choosing Order from the context menu to display a submenu.

Bring to Front brings the object all the way to the front (gives it the highest order).
Send to Back sends the object all the way to the back (gives it the lowest order).
Bring Forward increases the object's order by one.
Send Backward decreases the object's order by one.
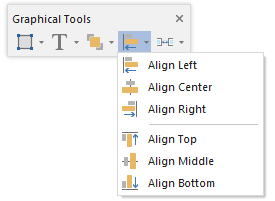
The order and align options are also available in the Graphical Tools toolbar (as well as from the main menu under Graphics|Order and Graphics|Align):

